Create a new view
Empty view
Let’s create your first view!
Once you are logged in you desktop client, you should see this:
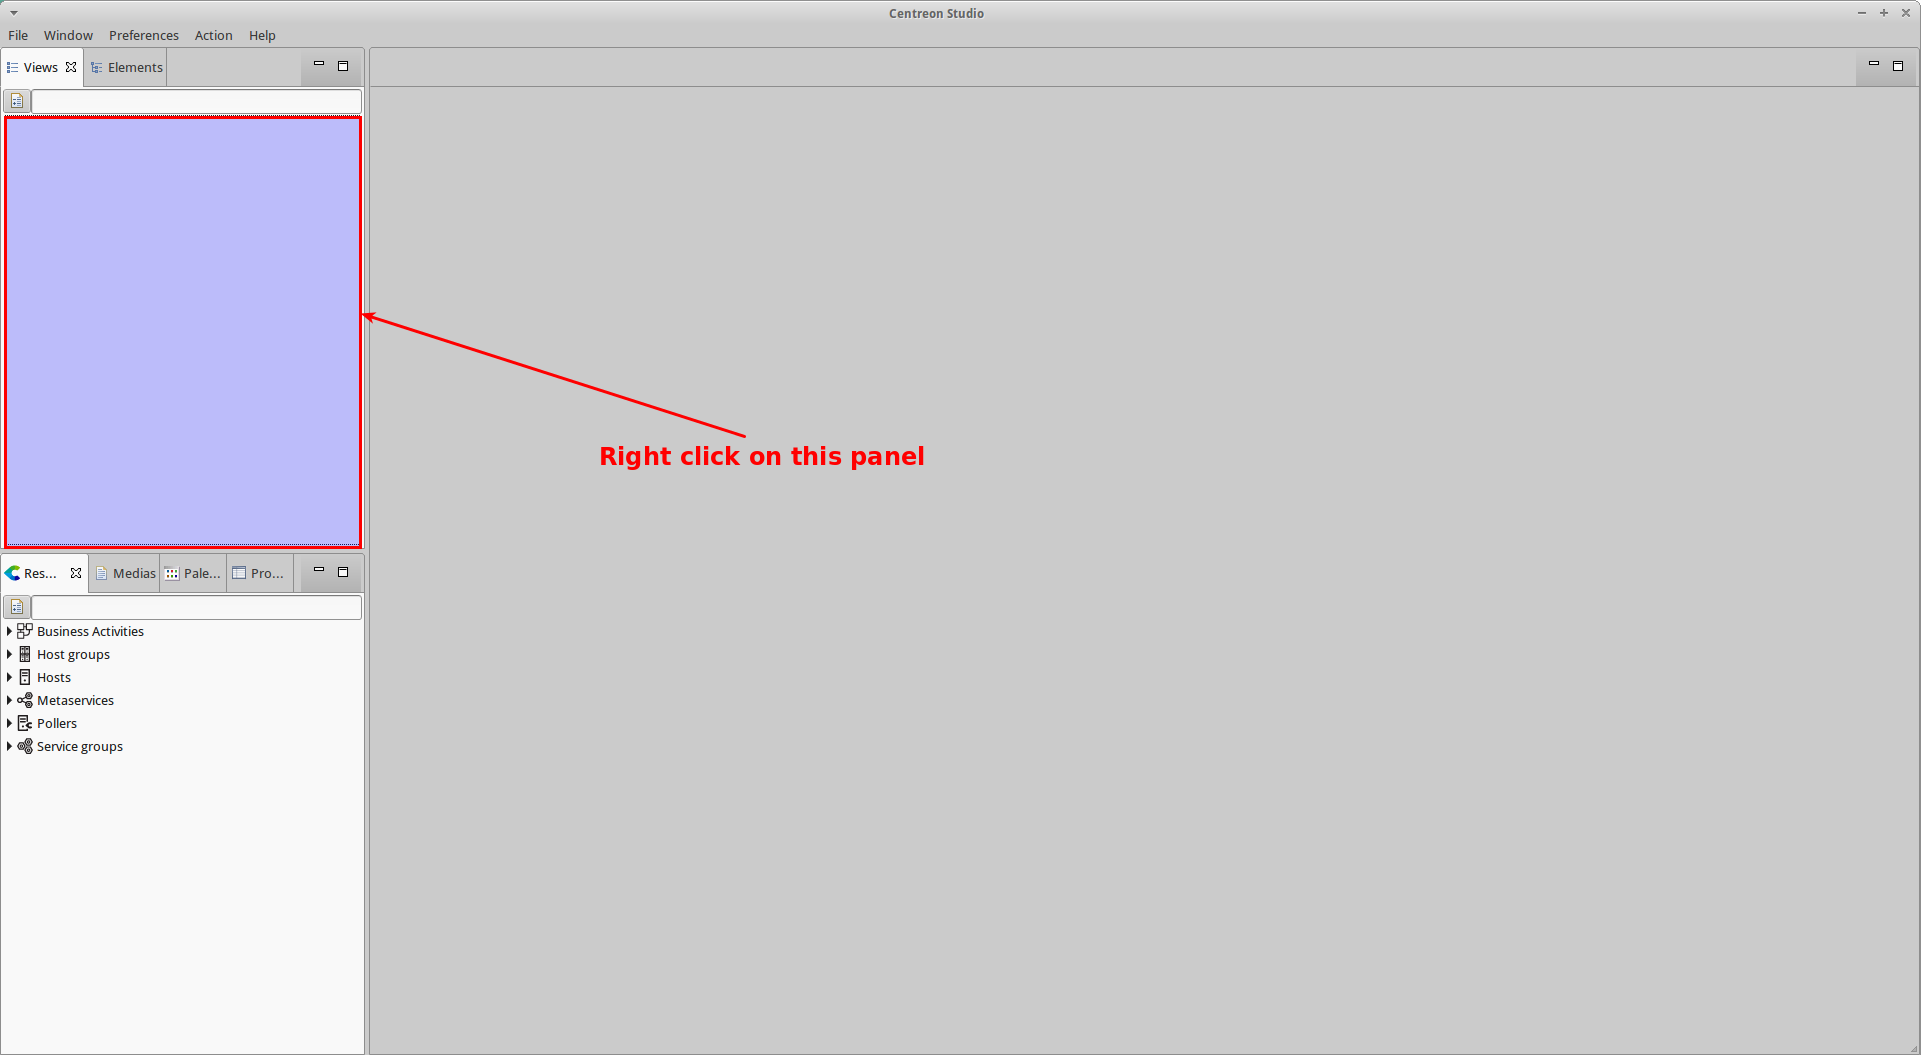
Right click on the empty left panel and click “Add”.
A new wizard will appear. Enter the name of the view (and an optional description for it).
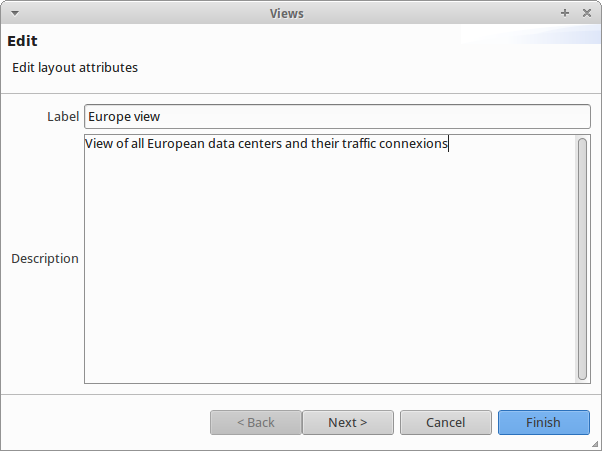
Then you can either click “Finish” to create the view or click “Next” to associate an image to the view.
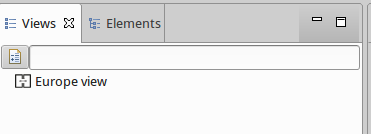
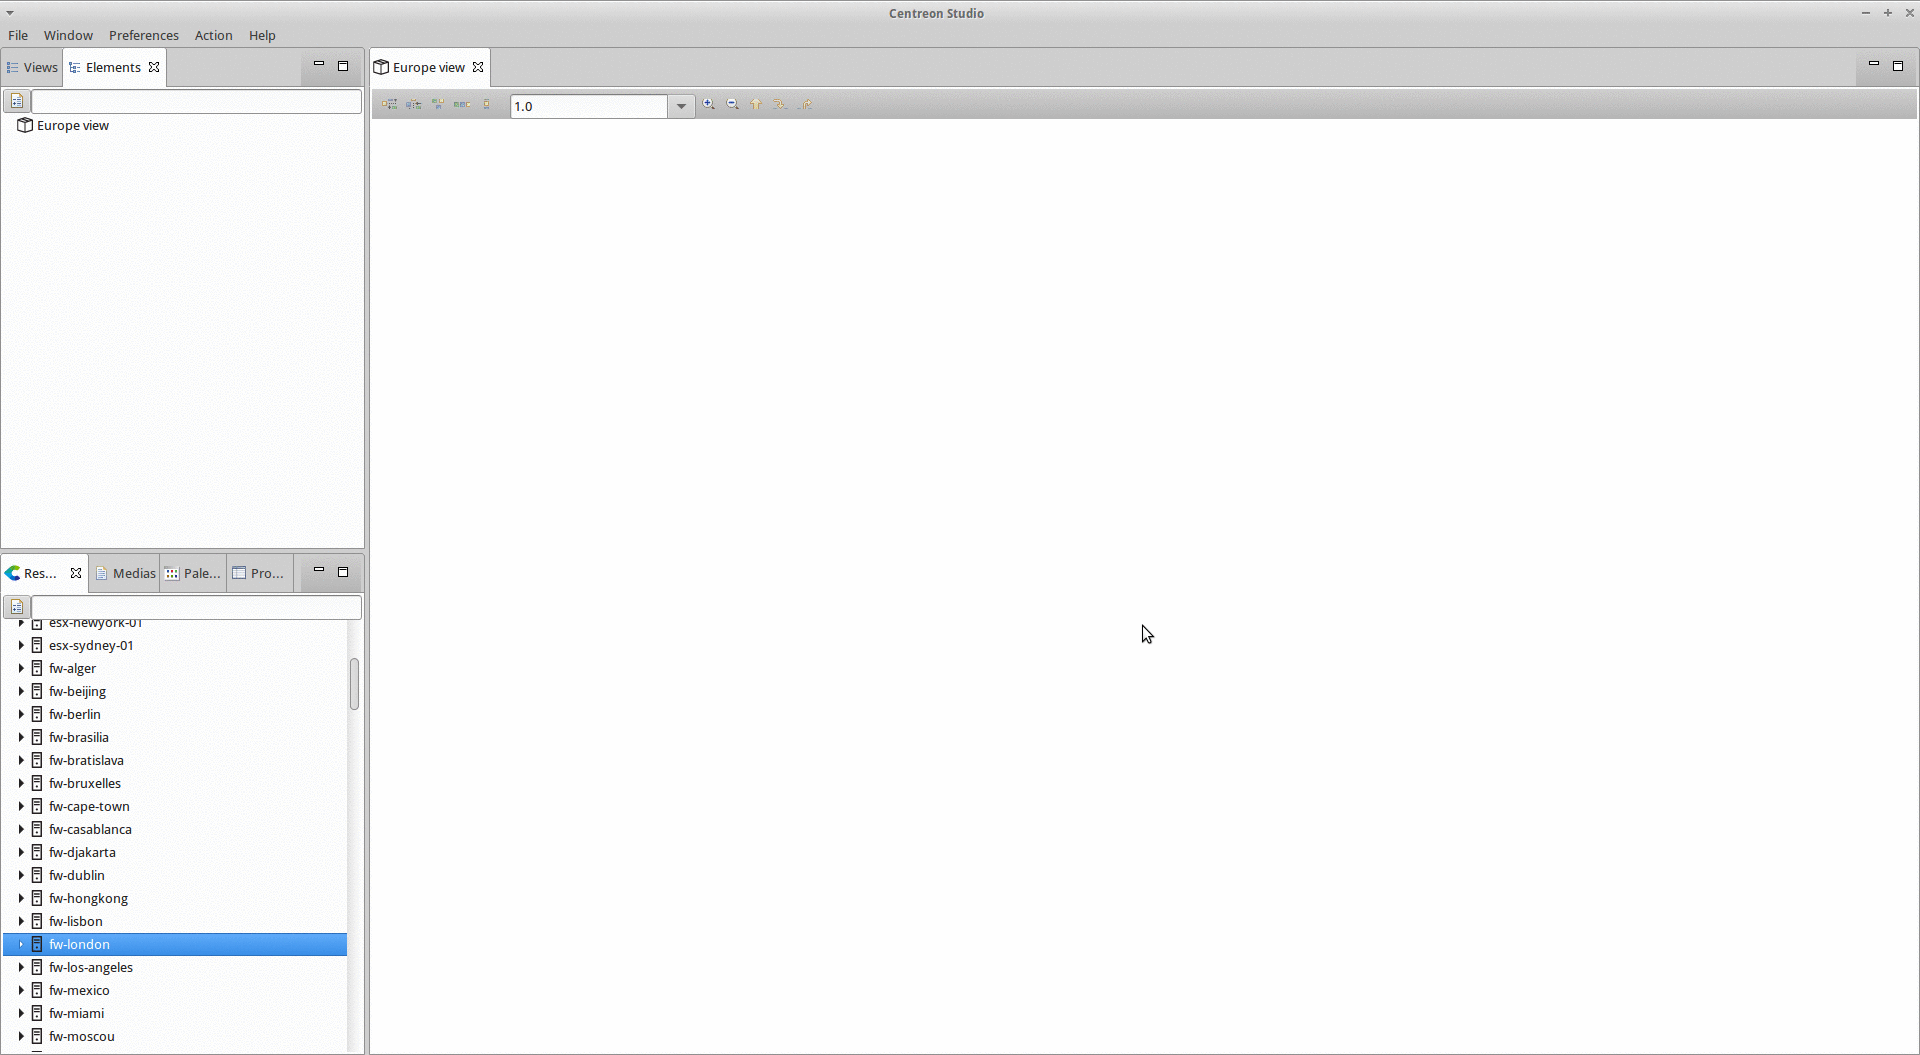
Once done, you will see your view in the left panel.
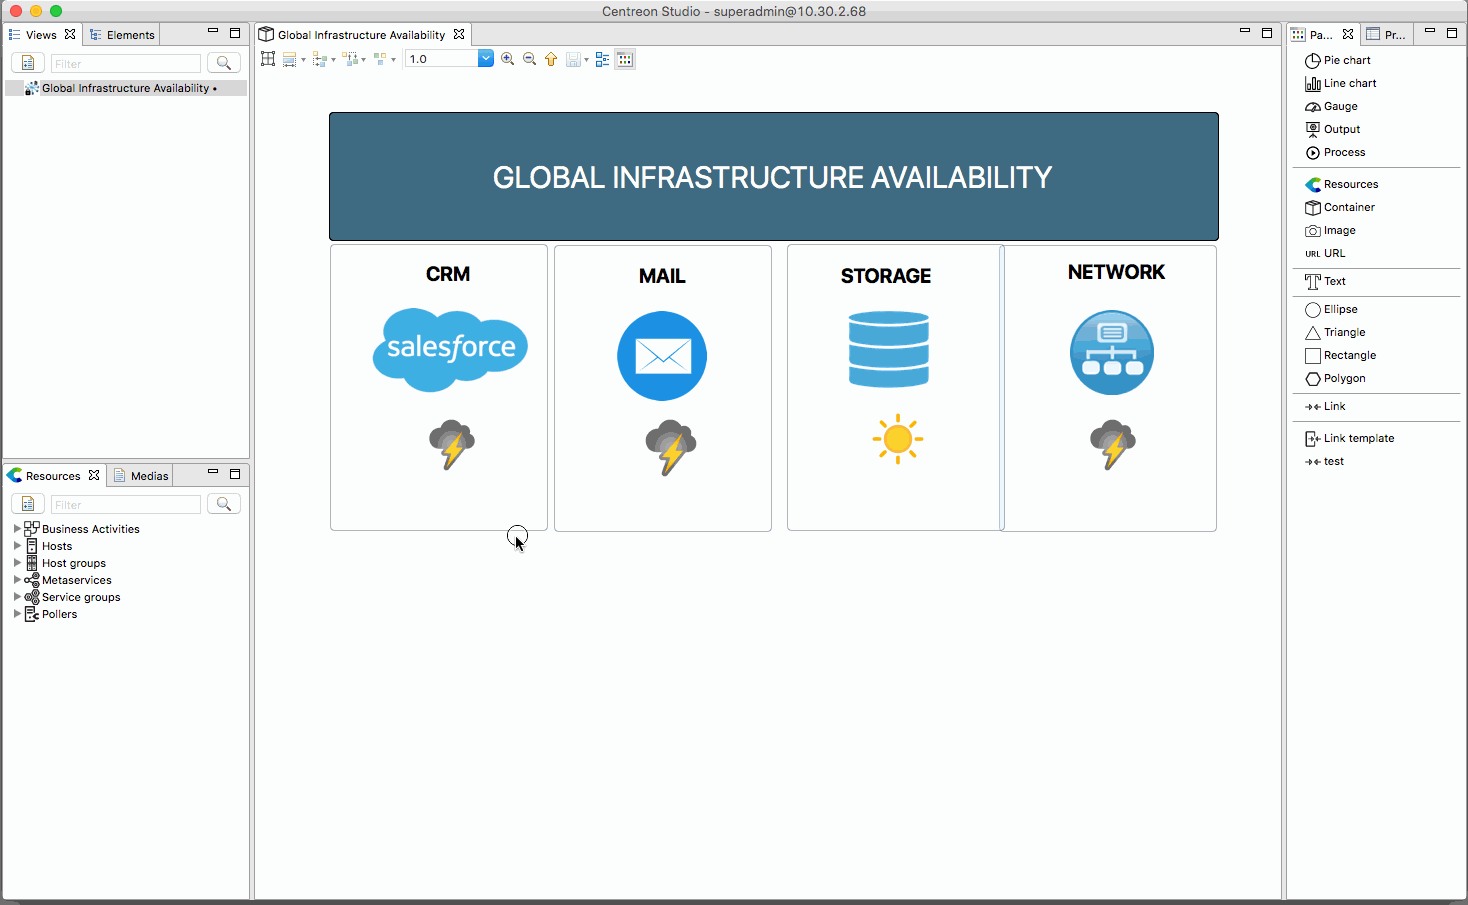
Now, double click on this view to open it. Your main panel will have a white background and you will be able to start puting elements on it!
To do so, simply drag and drop resources from your resource panel to your main panel.
Here you go! Your first view is now created.
Now let’s see how to turn it into the entry point of your monitoring system.
From a container
When you want to share a sublevel of a view to different population without duplicating the content of it or giving the full access to the main view, you can create a view that is directly linked to a container.
Warning
If you rename the created view that is linked to the container, the container will be also renamed.
To do so, right click on the container or inside the target one and click on “Create a view from that container”