Setting the development environnement
Create the workspace
At the launching of Eclipse BIRT, you will need to create a workspace in which you will be able to add several BIRT reporting projects. We advise to select a folder for the workspace that will be independent from the Eclipse BIRT installation BIRT. In that way, you will be able to change easily your BIRT version without changing the folders configuration of your BIRT projects.
Once the workspace is created, before starting to develop any report, you will need to create a BIRT report project that will have two main folders:
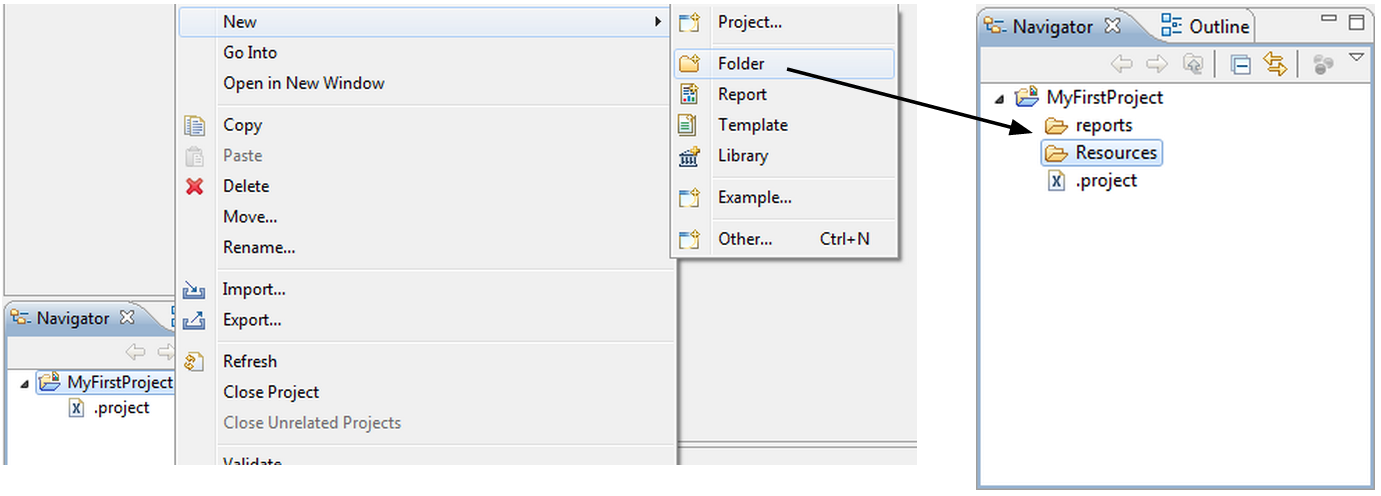
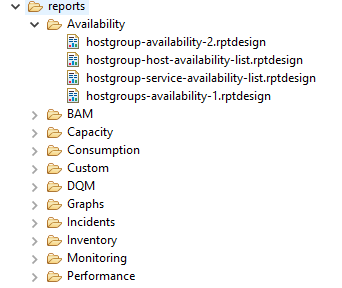
reports: will contain all your reports (.rptdesign files).
Resources: will contain any file or component that will accessible in your reports using relative paths.
Create a new project
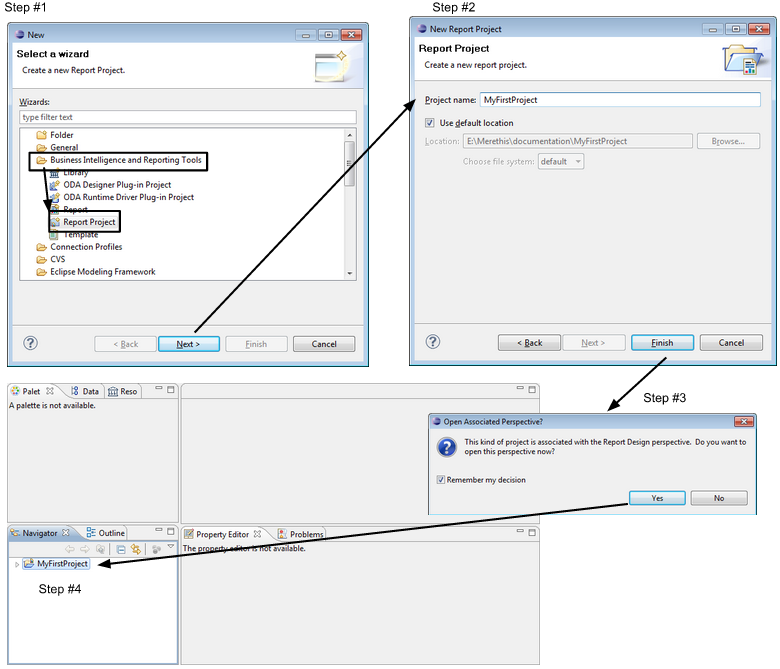
To create a BIRT report project, select “File > New > Other projects”, then, in the” wizard window, select “Report project”:
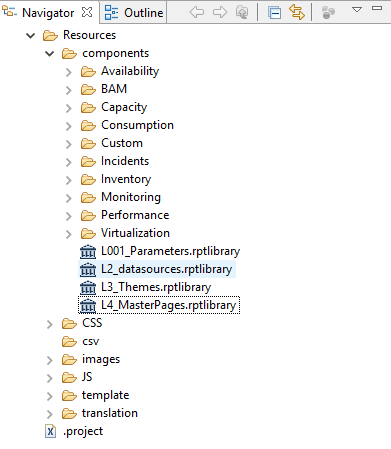
Once the project is created, add your two main folders with a right-click on the project displayed in the “Navigator” panel:
Now, Copy the content of reports (/usr/share/centreon-bi/reports) and resources (/usr/share/centreon-bi/Resources) directories of the reporting server on the two main folders you created.
The resources folder
For each BIRT project created in this workspace, you will need to defined explicitly the location of the resources folder.
Setting the location of the resources will allow to access the shared components (data sources, data sets, report parameters and layout components from BIRT libraries, but also BIRT report templates and image or flat files) via the panel “Resource Explorer”:
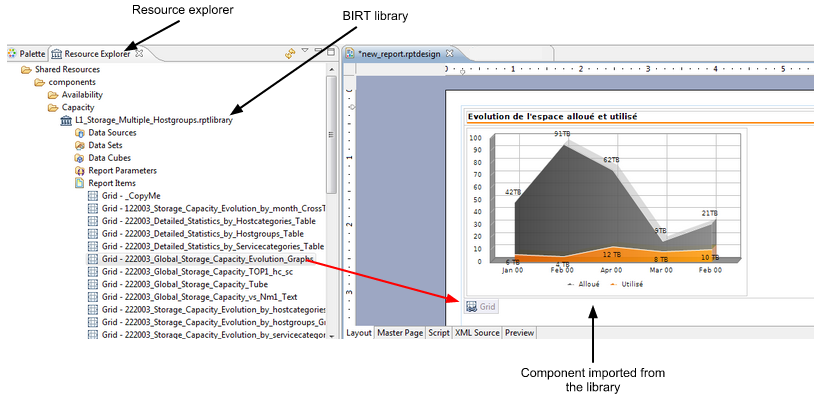
Each component imported from the “Shared resources” into the report (.rptdesign file) will be referenced with a relative path. In this way, you will be able to migrate your project into another workspace or Centreon MBI reporting server without taking in account the full path of your installed workspace.
For example, we won’t care if your workspace is installed in “C:Documents and settingsusernameCentreon-Bi-WorkspaceMyFirstProject. Only the subfolders that structure your project MyFirstProject” will be matter.
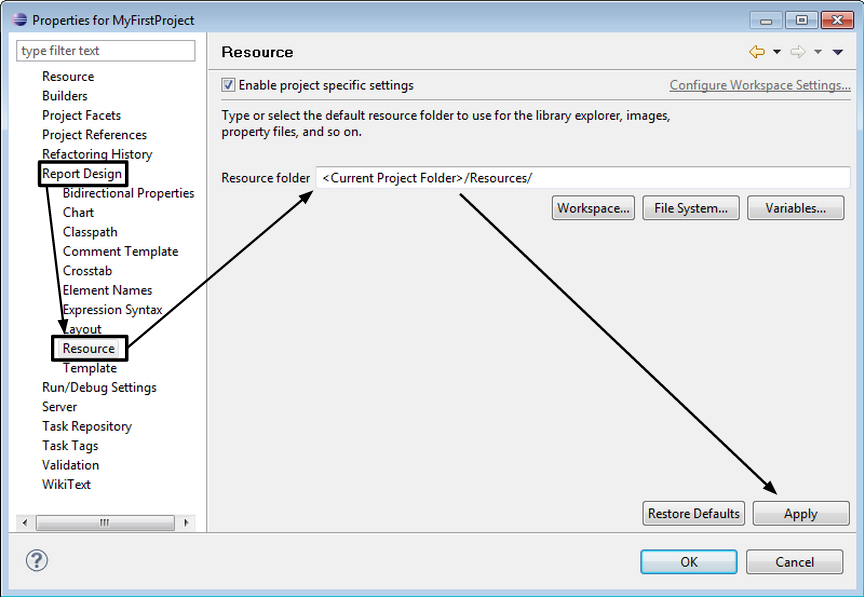
To define the resource folder in the project environment, right-click on your project in the “Navigator panel, then select “Properties”. Set the resource folder as “<Current Project Folder>/Resources/”. The pattern “<Current Project Folder>” is a variable that will be set automatically by Eclipse, there is no need to write explicitly the project path.
Note
You will have to perform this procedure again if:
You export and import the project into another workspace.
You create a new project
Connection to the databases
Introduction
Informations relatives to the connection to the database are defined on the files:
/etc/centreon-bi/cbis-reports.xml
/etc/centreon-bi/reports-profile.xml
Copy these 2 files to your workstation.
Modify the addresses of the 2 files. On each file, it is necessary to update the address in 2 places: one for Centreon database access, and one for Censtorage database access
cbis-prolile.xml file should contain the address of the monitoring database server.
reports-profile.xml should contain the address of the reporting database server.
Update the username and the password of these files if necessary.
Grant privileges to the defined user to be able to connect from your workstation to databases.
Setting L2_datasources library
Warning
Never uploader the L2_Datasource.rptlibrary file on your reporting server. This will make ETL & report generation crash because information to connect to the MySQL server in that file will not be relevant.
All the standard reports use the library L2_datasources to connect to data. So you must point this library to the corrects servers ( the monitoring DB and the reporting DB servers).
We link the library L2_datasource to the profile files present on you workstation and already updated.
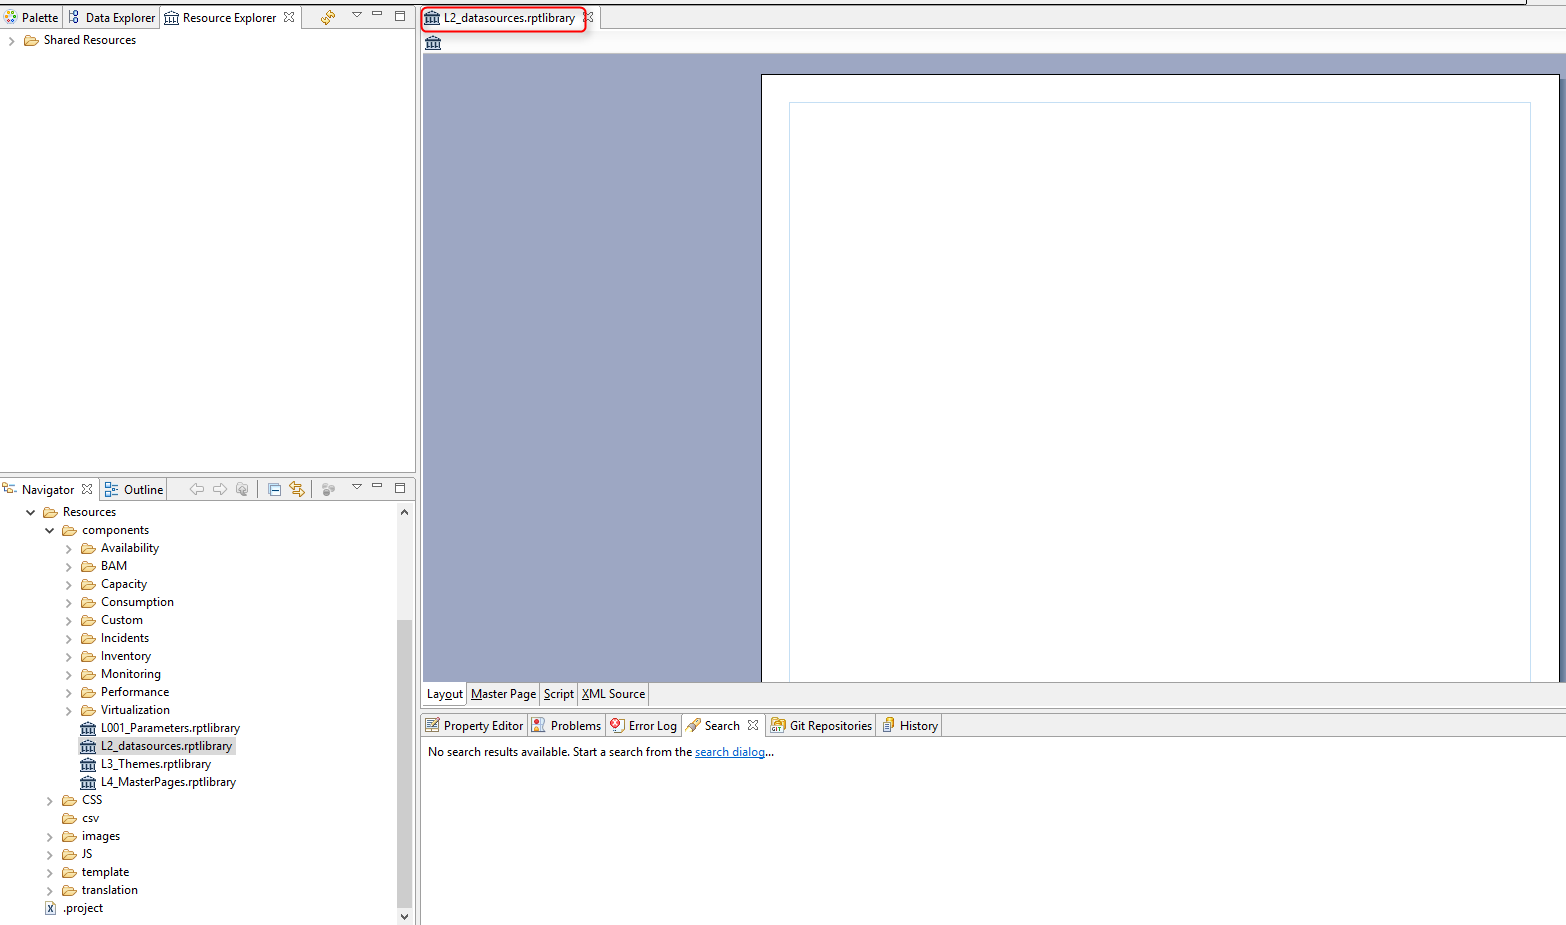
To do so, double click on the library L2_datasource. The library is opened on the layout.
Click on “Outline” and unroll the Data sources.
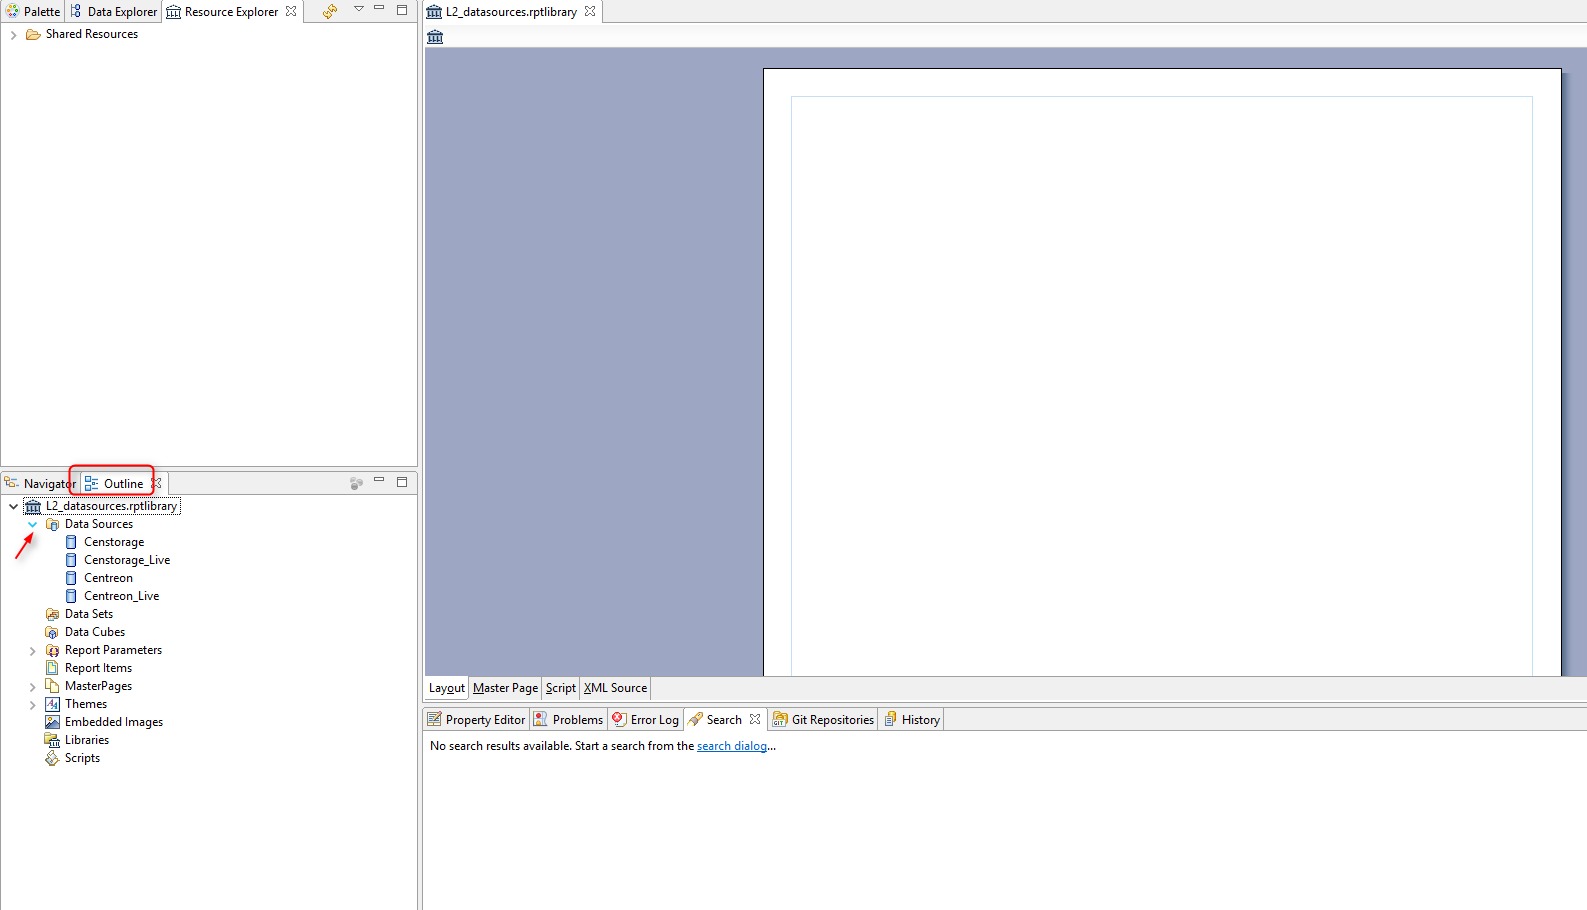
These are all datasources used in Centreon MBI standard reports. *
Double click on the Datasource Centreon, the below pop-up opens:
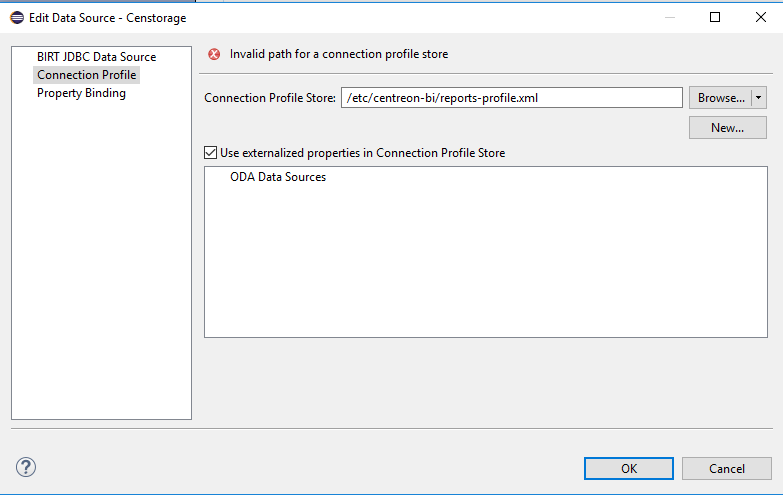
On the “Connection Profile Store”, select the path of report-profile.xml file present on your workstation and validate.
The following pop-up opens:

On the text zone, all datasources present on the file are listed.
In this example, 2 datasources are listed: - Censtorage - Centreon
Select Centreon then click on “BIRT JDBC Data Source”
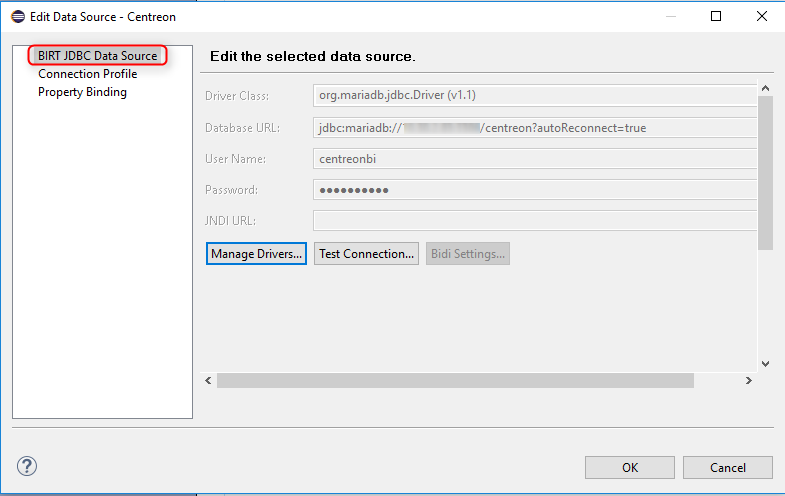
The information defined on the XML file are taken over.
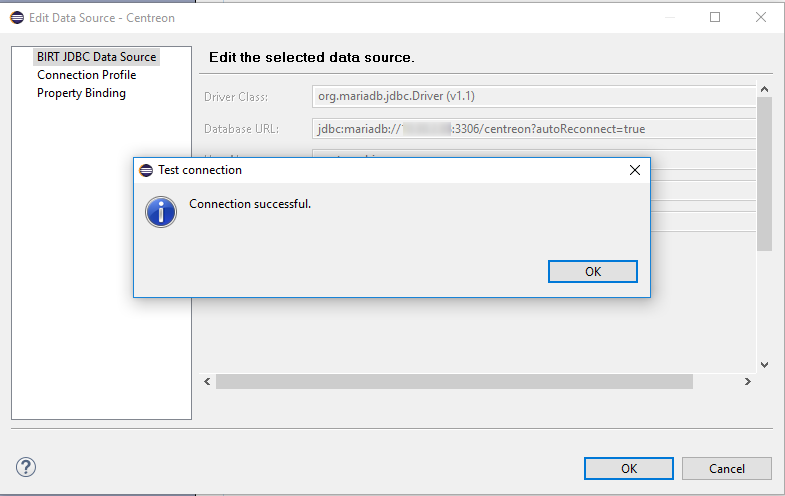
Click on “Test Connection”. You should have un pop-up with a message “connection successful”
Note
is case of an exception message relative to a Driver missing, think to add the MariaDB driver ( .jar) from the menu manage driver.
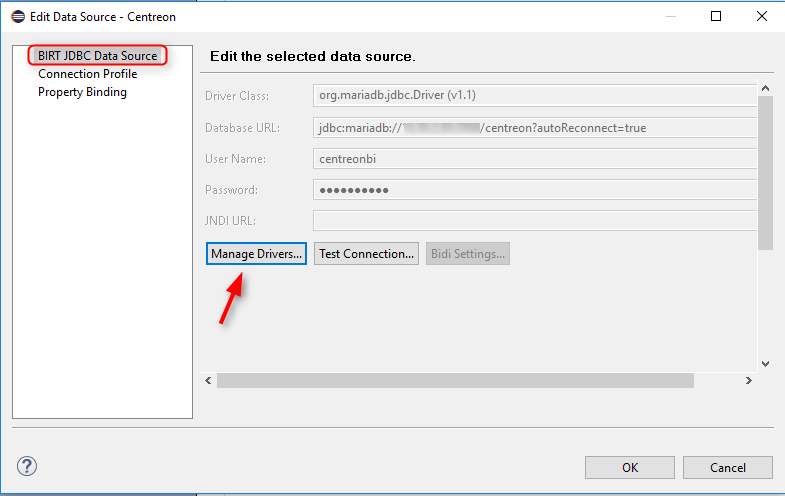
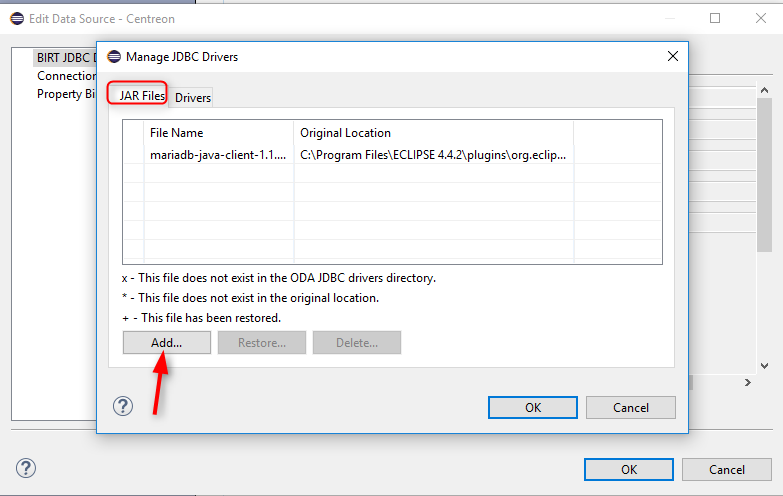
This action have to be done only once on the project.
Repeat the same for actions for the datasources: centreon_storage, centreon_live et centreon_storage_live
datasource |
profile file |
profil to use |
Censtorage |
reports-profile.xml |
Censtorage |
Centreon_Live |
cbis-profile.xml |
Centreon |
Censtorage_Live |
cbis-profile.xml |
Censtorage |
Generate a standard report
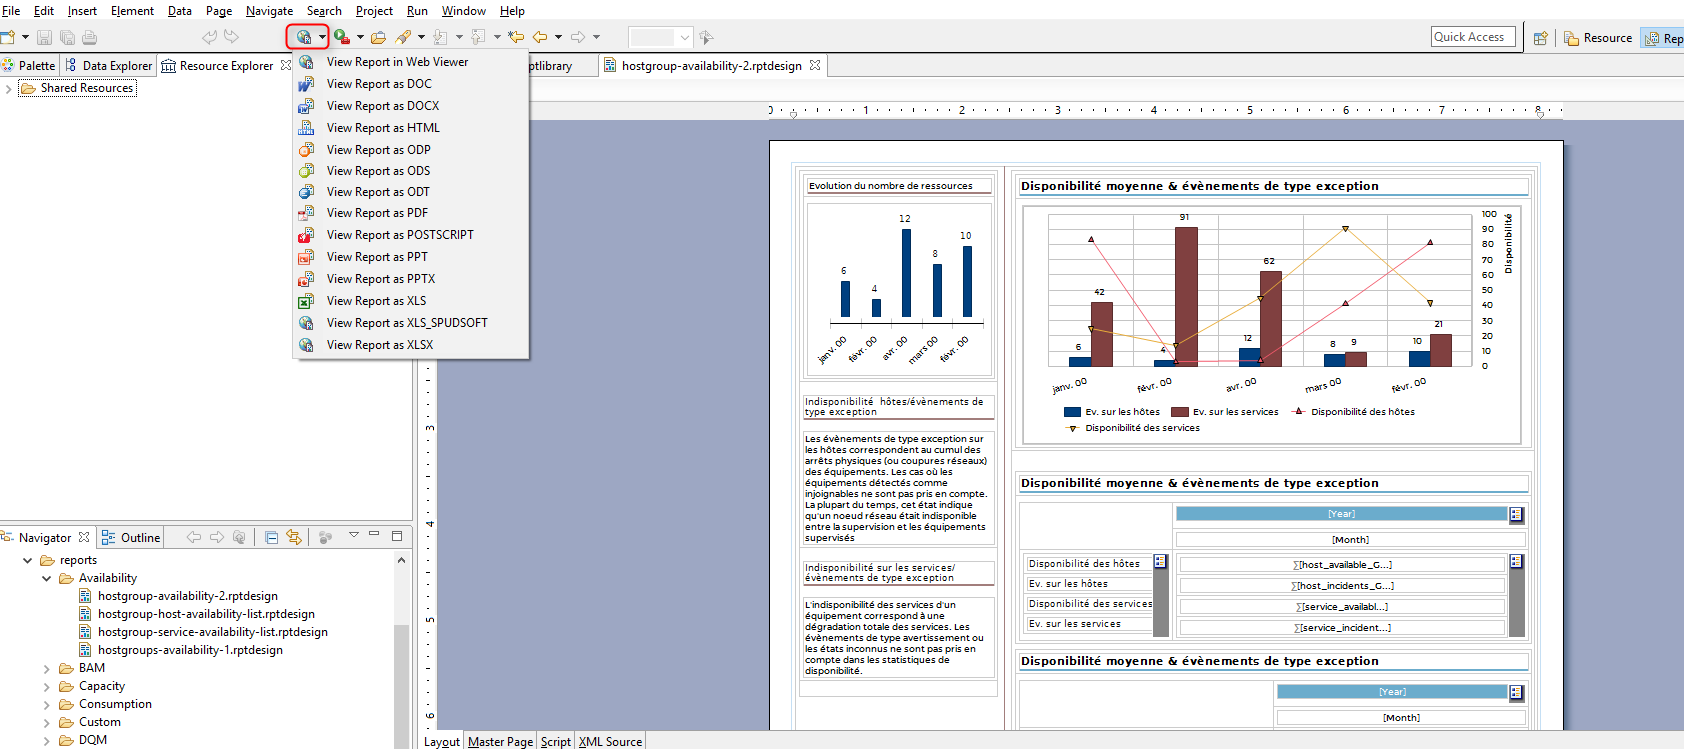
To generate a standard report from the development environnement, open the report by double clicking on it.
Once the report is opened on the layout, click on “View report” the select the output format:
A pop-up asking to fill in the report parameters opens
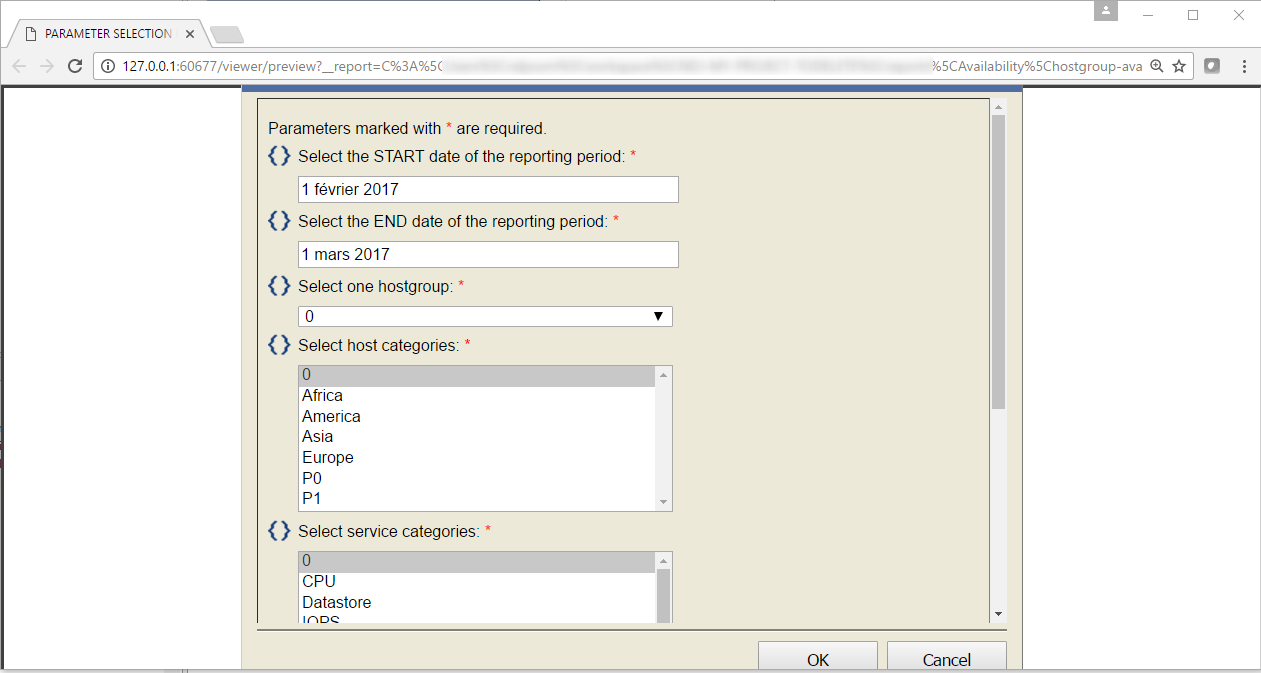
The report will be generated on the selected perimeters related to the parameters choosen, on the output format selected.